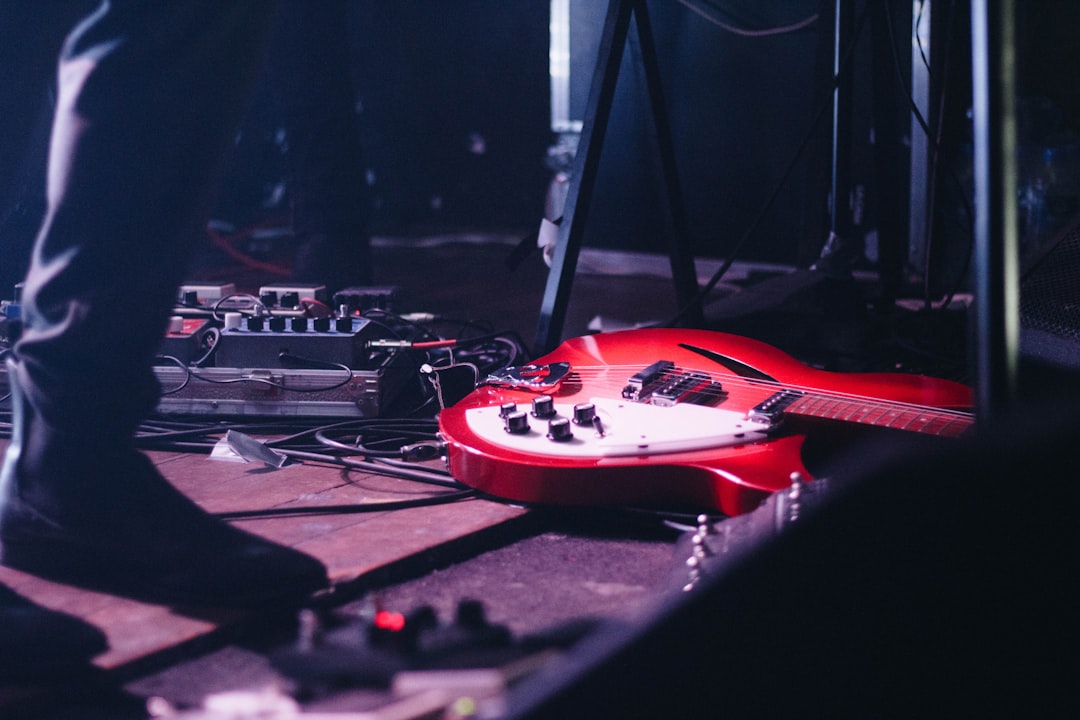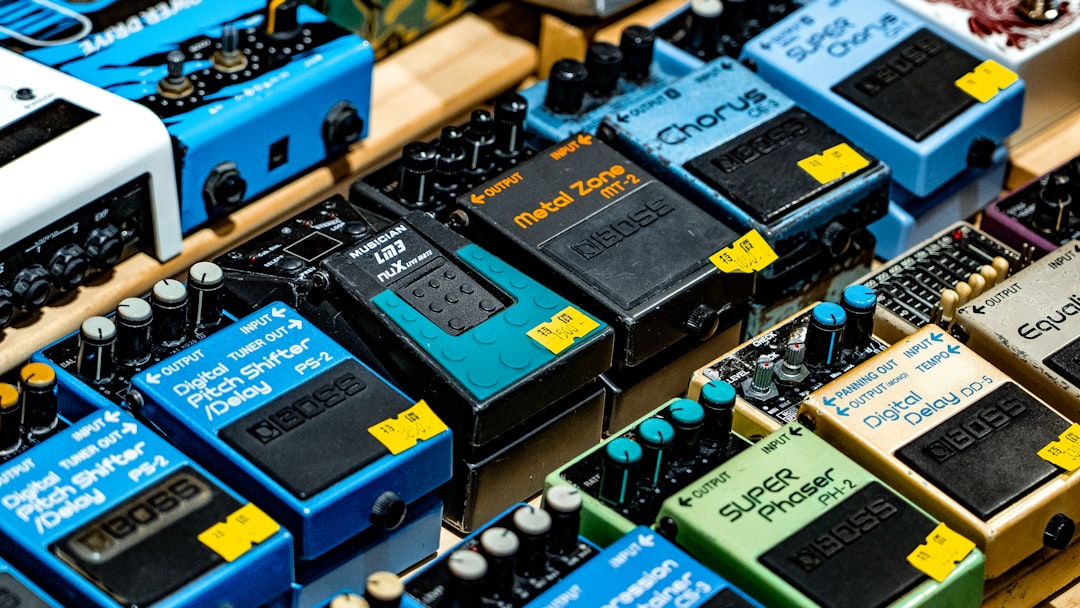

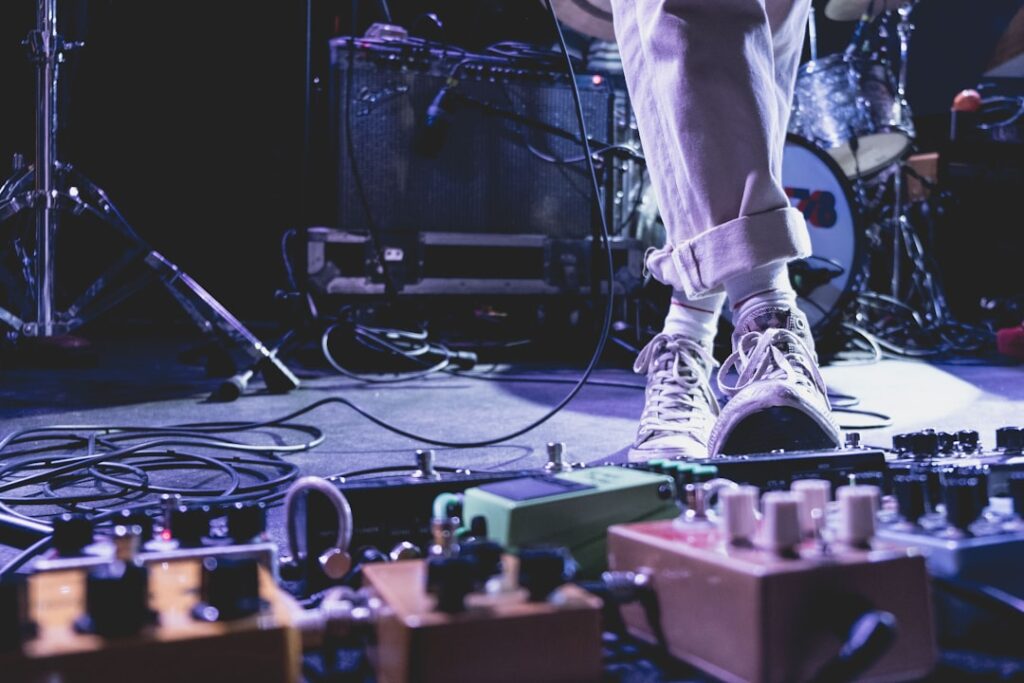
A guitar pedalboard is a flat board or platform that is used to hold and organize guitar pedals. These pedals are electronic devices that alter the sound of the guitar, allowing guitarists to create a wide range of tones and effects. A pedalboard is an essential tool for guitarists who use multiple pedals, as it keeps them organized and easily accessible during performances or practice sessions.
The importance of having a pedalboard for guitarists cannot be overstated. Without a pedalboard, pedals can become tangled and disorganized, making it difficult to find the desired effect quickly. Additionally, a pedalboard helps to protect the pedals from damage during transportation and provides a stable platform for foot control.
The history of guitar pedalboards dates back to the 1960s when guitarists began experimenting with various effects pedals to create unique sounds. As the popularity of these effects grew, so did the need for a way to organize and control them. Guitarists started using homemade pedalboards made from wood or metal to hold their pedals in place. Over time, companies began manufacturing pre-made pedalboards specifically designed for guitarists, offering a range of sizes and features to suit different needs.
Key Takeaways
- Guitar pedalboards are essential for guitarists to organize and control their effects pedals.
- Crafting your own pedalboard allows for customization and cost savings compared to buying pre-made ones.
- Essential tools and materials for DIY pedalboard include a saw, drill, screws, and wood or metal boards.
- Planning your pedalboard layout involves considering the order of your pedals and the space needed for each.
- Wiring your pedals requires attention to detail and proper cable management to avoid noise and signal loss.
Benefits of Crafting Your Own Pedalboard
Crafting your own pedalboard offers several benefits compared to buying pre-made ones. Firstly, it is cost-effective. Building your own pedalboard allows you to save money as you only need to purchase the necessary materials and tools. Pre-made pedalboards can be quite expensive, especially if you opt for high-quality ones with additional features.
Secondly, crafting your own pedalboard allows you to customize it according to your specific needs and preferences. You can design the layout, size, and shape of the board to accommodate your pedals and any additional accessories you may have. This level of customization ensures that your pedalboard is tailored to your playing style and requirements.
Lastly, building your own pedalboard provides a sense of satisfaction and accomplishment. It allows you to engage in a hands-on project and create something that is uniquely yours. The process of planning, building, and customizing your pedalboard can be enjoyable and rewarding, giving you a deeper connection to your gear.
Essential Tools and Materials for DIY Pedalboard
To build your own pedalboard, you will need a few essential tools and materials. Here is a list of what you will need:
1. Wood or metal board: This will serve as the base of your pedalboard. You can choose between wood or metal depending on your preference and the desired aesthetic.
2. Saw: A saw will be necessary to cut the board to the desired size and shape.
3. Drill: A drill is needed to create holes for mounting the pedals and attaching any additional accessories.
4. Screws: These will be used to secure the pedals to the board and attach any other components.
5. Velcro or adhesive: Velcro or adhesive strips are used to secure the pedals to the board, preventing them from moving during use.
6. Cable management: Cable ties or clips can be used to keep the cables organized and prevent them from tangling.
7. Power supply: Depending on the number of pedals you have, you may need a power supply to provide electricity to your pedals.
Planning Your Pedalboard Layout
| Aspect | Metric |
|---|---|
| Size | Dimensions of pedalboard |
| Weight | Total weight of pedals and board |
| Power | Number of power supplies needed |
| Cables | Length and quantity of cables needed |
| Layout | Arrangement of pedals on board |
| Accessories | Additional items needed (e.g. patch cables, velcro) |
Before building your pedalboard, it is important to plan out the layout to ensure that everything fits properly and is easily accessible. Here are some tips for planning your pedalboard layout:
1. Take inventory of your pedals: Make a list of all the pedals you currently own or plan to use on your pedalboard. This will help you determine how much space you will need and how many holes you will need to drill.
2. Consider signal flow: Think about the order in which you want your pedals to be connected. The signal flow refers to the path that the guitar signal takes from the input to the output of the pedals. Generally, it is recommended to place your tuner pedal first, followed by any distortion or overdrive pedals, modulation effects, and finally, time-based effects such as delay or reverb.
3. Arrange pedals based on frequency range: Consider the frequency range of each pedal and how they interact with each other. For example, placing a wah pedal before a distortion pedal can result in a different sound compared to placing it after.
4. Leave space for future expansion: If you plan on adding more pedals in the future, make sure to leave some extra space on your pedalboard to accommodate them.
Wiring Your Pedals
Wiring your pedals correctly is crucial for achieving optimal sound quality and minimizing noise. Here are some tips for wiring your pedals:
1. Understand signal flow: Signal flow refers to the order in which the guitar signal passes through the pedals. The general rule is to connect the output of one pedal to the input of the next pedal using instrument cables.
2. Use high-quality cables: Invest in high-quality instrument cables to minimize signal loss and interference.
3. Keep cables short: Use the shortest possible cables to connect your pedals. Longer cables can introduce noise and signal degradation.
4. Use a buffer pedal: If you have a long chain of pedals, consider using a buffer pedal at the beginning or end of your signal chain to maintain signal integrity.
5. Avoid daisy-chaining power: Daisy-chaining power from one pedal to another can introduce noise and cause power issues. Instead, use a dedicated power supply for each pedal or invest in a multi-output power supply.
Powering Your Pedalboard

Powering your pedalboard is an important aspect of building a functional setup. Here are some tips for powering your pedalboard:
1. Understand power sources: There are several options for powering your pedals, including batteries, wall adapters, and power supplies. Each option has its pros and cons, so it is important to choose the one that best suits your needs.
2. Choose the right power supply: If you have multiple pedals, investing in a dedicated power supply is recommended. Look for a power supply that provides enough outputs to accommodate all your pedals and has sufficient current capacity.
3. Consider isolated outputs: Isolated outputs on a power supply help to eliminate noise and ground loop issues that can occur when multiple pedals share the same power source.
4. Properly distribute power: When connecting your pedals to a power supply, make sure to distribute the power evenly across the outputs. Avoid overloading any single output as this can cause power issues.
Building Your Pedalboard: Step-by-Step Guide
Now that you have planned your pedalboard layout and gathered all the necessary tools and materials, it’s time to start building. Here is a step-by-step guide to building your own pedalboard:
1. Measure and cut the board: Measure the desired size and shape of your pedalboard and mark it on the wood or metal board. Use a saw to cut the board according to your measurements.
2. Drill holes for mounting pedals: Determine the placement of each pedal on the board and mark the locations where you will need to drill holes. Use a drill with an appropriate drill bit size to create the holes.
3. Sand and finish the board: Sand down any rough edges or surfaces on the board using sandpaper. Apply a finish or paint of your choice to protect the board and give it a polished look.
4. Attach Velcro or adhesive strips: Cut strips of Velcro or adhesive and attach them to the board in the areas where you will be placing your pedals. Make sure they are securely attached to prevent any movement.
5. Mount pedals to the board: Place each pedal on the board and secure them using screws. Make sure they are tightly fastened to prevent any wobbling or movement.
6. Organize cables: Use cable ties or clips to organize the cables and prevent them from tangling. Route the cables neatly along the sides or underneath the board.
7. Connect pedals: Connect the pedals together using instrument cables, following the planned layout and signal flow.
8. Power your pedals: Connect each pedal to a power source, whether it be a battery, wall adapter, or power supply. Make sure all connections are secure and properly distributed.
Customizing Your Pedalboard
Once you have built your pedalboard, you can further customize it to add your personal touch and make it unique. Here are some ideas for customizing your pedalboard:
1. Paint or stain the board: If you used a wooden board, you can paint or stain it in a color of your choice to match your style or aesthetic.
2. Add artwork or decals: Consider adding artwork or decals to the board to make it visually appealing and reflect your personality.
3. Install LED lights: LED lights can be installed underneath the board to add a cool visual effect during performances.
4. Attach accessories: You can attach additional accessories such as a pedal riser, cable management system, or a handle for easy transportation.
5. Label pedals and cables: Use labels or markers to identify each pedal and cable, making it easier to navigate during performances or practice sessions.
Troubleshooting Common Pedalboard Issues
While building your own pedalboard can be a rewarding experience, it is not without its challenges. Here are some common issues that may arise with pedalboards and tips for troubleshooting them:
1. Noise issues: If you are experiencing excessive noise or hum from your pedals, check for loose connections, faulty cables, or ground loop issues. Make sure all connections are secure and properly grounded.
2. Power issues: If your pedals are not receiving power or are not functioning properly, check the power source and connections. Ensure that the power supply is providing the correct voltage and current for your pedals.
3. Pedal placement issues: If you are not satisfied with the sound or interaction between pedals, experiment with different pedal placements and signal flow. Small changes in the order or placement of pedals can have a significant impact on the overall sound.
4. Cable management issues: If your cables are constantly tangling or getting in the way, consider using cable ties or clips to keep them organized. You can also use cable management systems such as cable trays or zip-ties to keep everything neat and tidy.
Enjoying Your DIY Pedalboard
Building your own pedalboard offers numerous benefits, from cost-effectiveness to customization. By following the steps outlined in this article, you can create a pedalboard that is tailored to your specific needs and preferences. Remember to plan your layout carefully, wire your pedals correctly, and power them properly to achieve optimal sound quality. Don’t be afraid to experiment and customize your pedalboard to make it truly yours. Enjoy the process of building and personalizing your pedalboard, and most importantly, have fun playing with your new setup!
FAQs
What is a guitar pedalboard?
A guitar pedalboard is a flat board or case used by guitarists to organize and connect multiple effects pedals.
Why do guitarists use pedalboards?
Guitarists use pedalboards to easily switch between different effects pedals during a performance or recording session, and to keep their pedals organized and protected.
What are the components of a guitar pedalboard?
The components of a guitar pedalboard include the board or case, power supply, patch cables, and effects pedals.
How do I choose the right size pedalboard?
The size of a pedalboard depends on the number and size of your effects pedals. Measure your pedals and choose a board that can accommodate them all with some extra space for future additions.
What is the best way to arrange pedals on a pedalboard?
Pedals should be arranged in a way that makes it easy to access and switch between them. A common arrangement is to group similar effects together and place them in the order of signal flow.
What is the best way to power a pedalboard?
A power supply specifically designed for guitar pedals is the best way to power a pedalboard. These power supplies provide consistent and reliable power to all pedals on the board.
How do I attach pedals to a pedalboard?
Pedals can be attached to a pedalboard using hook-and-loop fasteners or pedalboard tape. These materials allow for easy attachment and removal of pedals without damaging them.
Can I build my own pedalboard?
Yes, it is possible to build your own pedalboard using materials such as wood, metal, or plastic. However, it is important to ensure that the board is sturdy and can support the weight of your pedals.